I did not work on the car this week. I started out putting time in searching for my nephew's lost dog. Happily, after 83 hours of being AWOL, Snowy turned up over 3 miles from home. She is home and doing fine now.
The really bad news was that I re-injured my neck. Three years ago I suffered a terribly painful couple of months with a some protrusions of nerves in my neck between a couple of vertebrae. Well, this week it came back. Not that surprising; if anything, I was lucky to be good for so long since the last treatment. Anyway, I am set for another MRI and hopefully another ESI (epidural steroid injection) right after that. Last time I got relief almost immediately. Right now I am drugged enough to be out of the worst pain, but I can't really lift my left arm. So the car is back on the back burner for now.
Sunday, June 12, 2011

Sunday, June 5, 2011
Ignition system begun
This week, I accomplished mounting the ignition coil to the engine block and connecting it to the distributor. This was not so easy a task as you might think. Most guys attach the coil to the front of the driver side engine heads. In my case, I already had the power steering pump using those bolt holes with the special mounting plate I had Jerry build for me a couple of years ago. There is just one big cable running from the coil to the distributor, and it would not have been a huge deal to locate it far away, but I did not have a cable long enough and did not want to spend any more money than necessary. And besides, it seems like such a natural place to put the coil right on the front of the engine.
I tried lots of ways of reusing the holes that were on Jerry's plate. There were 3 holes with bolts holding the plate and PS pump in place. Normally guys would use the outside ones, but that was impossible for me. And using the 2 inside holes was close to fitting, but just a little too close. Eventually, I widened the coil bracket holes, changed the angles of the bracket a bit, shortened the bolt that closes the coil bracket loop a couple of times and used a bit of oil to lube the outside of the coil just enough to squeeze it into the bracket. It even required a special precise installation order to get everything to clear all of the bolts in the area. Of course, this was only determined by trial and many errors!
Here are a few of the finished pics...


Next, there are a couple of signal wires that run from the ignition box to the distributor and a couple of power wires that run from the ignition box to the ignition coil. So I had to decide where/how to install the ignition box. Most people put it on top of the passenger side footbox. So I spent a lot of time browsing the pictures of every finished Hurricane and every Cobra replica up for sale on the main website where they are sold, Cobra Country. I am pretty sure how I want to run things and that I will indeed put the MSD ignition brain on the PS footbox, but it got too hot and too short on time this week to finish that job.
I tried lots of ways of reusing the holes that were on Jerry's plate. There were 3 holes with bolts holding the plate and PS pump in place. Normally guys would use the outside ones, but that was impossible for me. And using the 2 inside holes was close to fitting, but just a little too close. Eventually, I widened the coil bracket holes, changed the angles of the bracket a bit, shortened the bolt that closes the coil bracket loop a couple of times and used a bit of oil to lube the outside of the coil just enough to squeeze it into the bracket. It even required a special precise installation order to get everything to clear all of the bolts in the area. Of course, this was only determined by trial and many errors!
Here are a few of the finished pics...


Next, there are a couple of signal wires that run from the ignition box to the distributor and a couple of power wires that run from the ignition box to the ignition coil. So I had to decide where/how to install the ignition box. Most people put it on top of the passenger side footbox. So I spent a lot of time browsing the pictures of every finished Hurricane and every Cobra replica up for sale on the main website where they are sold, Cobra Country. I am pretty sure how I want to run things and that I will indeed put the MSD ignition brain on the PS footbox, but it got too hot and too short on time this week to finish that job.
Sunday, May 29, 2011
49.99726
That is how old I am as I write this post. I had hoped to be able to start the car by tomorrow, but that won't happen. I lost too much time this spring on the windshield wipers. Maybe by the 4th of July; I am back to making good progress.
This week, I finally settled on the right wire twisting and soldering techniques, so the splices for the rear light branch were much easier.

I got all of those wires (brake lights, tail lights, fuel sender, grounds) run through the cockpit to the trunk area. There they sit til later in the build when the trunk gets put into place.


Now I am going back to work on engine wiring. There is SO much involved--battery, fusebox, ignition switch, ignition box, neutral safety switch, alternator, voltage regulator, starter motor, solenoid, ignition coil, distributor, carburetor choke. I am spending a LOT of time reading and trying to get it all straight in my head.
This week, I finally settled on the right wire twisting and soldering techniques, so the splices for the rear light branch were much easier.

I got all of those wires (brake lights, tail lights, fuel sender, grounds) run through the cockpit to the trunk area. There they sit til later in the build when the trunk gets put into place.
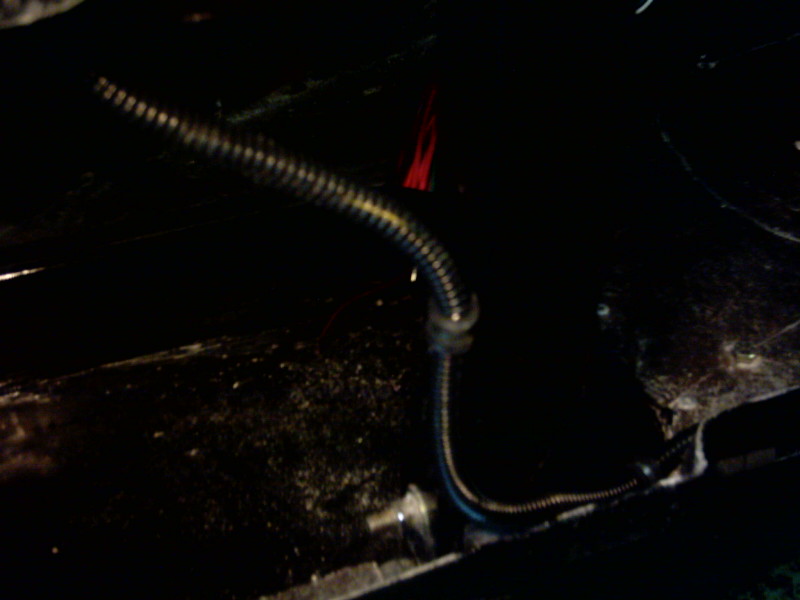


Now I am going back to work on engine wiring. There is SO much involved--battery, fusebox, ignition switch, ignition box, neutral safety switch, alternator, voltage regulator, starter motor, solenoid, ignition coil, distributor, carburetor choke. I am spending a LOT of time reading and trying to get it all straight in my head.
Sunday, May 22, 2011
Learned alot; Accomplished a little
I don't have much in the way of good photography this week, but I did spend some significant time working on the wiring. When I got to the point where I was supposed to splice in extra wires for the front headlights (high beam, low beam, ground, parking) I learned that my soldering skills were really much worse than I remembered. I ended up trying over and over again to get a good clean looking connection that did not have gigantic globs of solder, but it was a struggle.
I ended up trying several different ways of making the mechanical connection of the wires, of soldering, of heat shrink wrapping. I must have done things over 7 or 8 times on one set of wires alone. Later, I tried crimping, but that did not go any better. Multiple tries to get the wires to fit in the connector, to get a good crimp, to get it all heat shrinked. Lots of fishing wires in and out of the loom, too.
In the end, I did get all 4 splices made and looking halfway decent. Some were soldered and some were crimped. I think I have the hang of the right techniques for twisting the wires together, for soldering, for crimping, for shrinking the heat wrap. Some of my problems are from crappy tools, but mostly its is me.
Anyway, the front light branch is basically in place and next come the front engine branches for power and signals, and the rear light branch. I am probably going to go to the rear light branch next as that is more straight-forward with what is required. Another upcoming step then will be to affix the fuse box under the dashboard. Hopefully I will get to all of that this upcoming week.
I ended up trying several different ways of making the mechanical connection of the wires, of soldering, of heat shrink wrapping. I must have done things over 7 or 8 times on one set of wires alone. Later, I tried crimping, but that did not go any better. Multiple tries to get the wires to fit in the connector, to get a good crimp, to get it all heat shrinked. Lots of fishing wires in and out of the loom, too.
In the end, I did get all 4 splices made and looking halfway decent. Some were soldered and some were crimped. I think I have the hang of the right techniques for twisting the wires together, for soldering, for crimping, for shrinking the heat wrap. Some of my problems are from crappy tools, but mostly its is me.
Anyway, the front light branch is basically in place and next come the front engine branches for power and signals, and the rear light branch. I am probably going to go to the rear light branch next as that is more straight-forward with what is required. Another upcoming step then will be to affix the fuse box under the dashboard. Hopefully I will get to all of that this upcoming week.
Saturday, May 14, 2011
Wiring started
I got a fair amount done this week, although I did lose a couple of very nice weather days thinking that I was missing 2 parts that were really there all along.
The first step was to drill a couple of holes in the firewall for the wires to pass through and to install grommets in the holes to protect the wires. I could not find the grommets. All I did find were 2 very small things labeled grommets that were not on my inventory sheet or covered in the manual, that I could tell. I went to a couple of autoparts stores looking to buy what I needed, but they did not have grommets that big. I posted a question on the Hurricane owners forums and eventually came to believe the grommets I have are for the sidepipe installation that comes much later.
I decided to flip through some old paper catalogs I have from some mail order autoparts stores and came across a picture of a wiring harness, similar to mine, that seemed to show the kind of grommets I would be needing. So I decided to look through my wiring harness kit again and found the grommets I needed all along in a bag with some electrical relays and switches. I felt stupid for overlooking them, but thrilled to be able to get back to working again.
The grommets proved to be just a little bit tricky and I did not have a hole saw or drill bit that was 1 3/8". I had 1 1/4 or 1 1/2. Rather than fiddle around with drilling it small and hand-widening it, I went to Sears and spent a few bucks for a new bit. The other problem was that the slit in the grommets was very small, so it only went around the aluminum sheets attached to the fiberglass on the firewall. So that meant I needed to cut the fiberglass hole about a 1/4" bigger than the aluminum. I did that with some die grinder trickery and now things seem to fit nicely.


Next I unpacked the wiring harness and stared at all of the wires trying to figure out what goes where. The instructions are okay, but there was no wiring diagram included with the harness by the manufacturer. A previous builder had done a beautiful 30"x36" PDF of it though, and Jerry was kind enough to print one out for me on his big plotter.


The next steps are pulling with wires together and through to their various locations. I also had to install some wire clamps to hold the plastic split looms that the wire runs in. Packing the wire into those was more time-consuming than you would think. It is a pretty tight fit. The first branch to be done is the one going to the front of the car for the headlights, bright and dim, turn signal lights, parking lights, and ground. There was also some cutting and splicing which it turns out I am not very good at.


The first step was to drill a couple of holes in the firewall for the wires to pass through and to install grommets in the holes to protect the wires. I could not find the grommets. All I did find were 2 very small things labeled grommets that were not on my inventory sheet or covered in the manual, that I could tell. I went to a couple of autoparts stores looking to buy what I needed, but they did not have grommets that big. I posted a question on the Hurricane owners forums and eventually came to believe the grommets I have are for the sidepipe installation that comes much later.
I decided to flip through some old paper catalogs I have from some mail order autoparts stores and came across a picture of a wiring harness, similar to mine, that seemed to show the kind of grommets I would be needing. So I decided to look through my wiring harness kit again and found the grommets I needed all along in a bag with some electrical relays and switches. I felt stupid for overlooking them, but thrilled to be able to get back to working again.
The grommets proved to be just a little bit tricky and I did not have a hole saw or drill bit that was 1 3/8". I had 1 1/4 or 1 1/2. Rather than fiddle around with drilling it small and hand-widening it, I went to Sears and spent a few bucks for a new bit. The other problem was that the slit in the grommets was very small, so it only went around the aluminum sheets attached to the fiberglass on the firewall. So that meant I needed to cut the fiberglass hole about a 1/4" bigger than the aluminum. I did that with some die grinder trickery and now things seem to fit nicely.


Next I unpacked the wiring harness and stared at all of the wires trying to figure out what goes where. The instructions are okay, but there was no wiring diagram included with the harness by the manufacturer. A previous builder had done a beautiful 30"x36" PDF of it though, and Jerry was kind enough to print one out for me on his big plotter.


The next steps are pulling with wires together and through to their various locations. I also had to install some wire clamps to hold the plastic split looms that the wire runs in. Packing the wire into those was more time-consuming than you would think. It is a pretty tight fit. The first branch to be done is the one going to the front of the car for the headlights, bright and dim, turn signal lights, parking lights, and ground. There was also some cutting and splicing which it turns out I am not very good at.


Sunday, May 8, 2011
Body is off
I did manage to get some help this week and get the body taken off of the Cobra. Now I can get on to the wiring work. There really wasn't anything too picture-worthy, but next week should be a good one. I also bought a new soldering iron for $3.99 at Harbor Freight. Wish me luck that it works; I just couldn't see spending 4 or 5 times that for one from Sears.
Monday, May 2, 2011
Subscribe to:
Posts (Atom)